
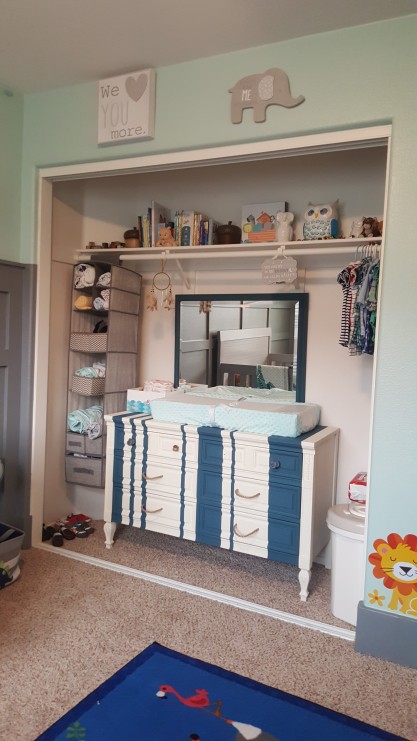
A lot of our DIY projects are just sitting in our phones waiting to be documented. One of which is the dressers we used in Liam’s nursery. (Nursery post to come, also!).
These dressers have been in my family for decades. My mom had them, my cousins, me and now Liam. At one point I believe my mom painted/touched them up, but that was also decades ago. I wanted something a little more boy-ish and up-to-date. So chalk paint to the rescue!
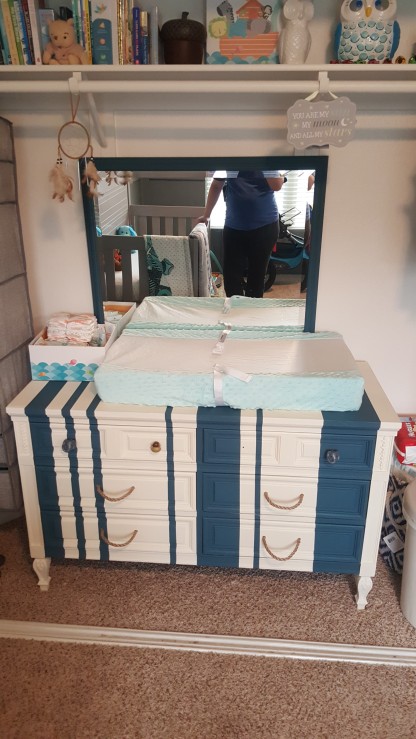
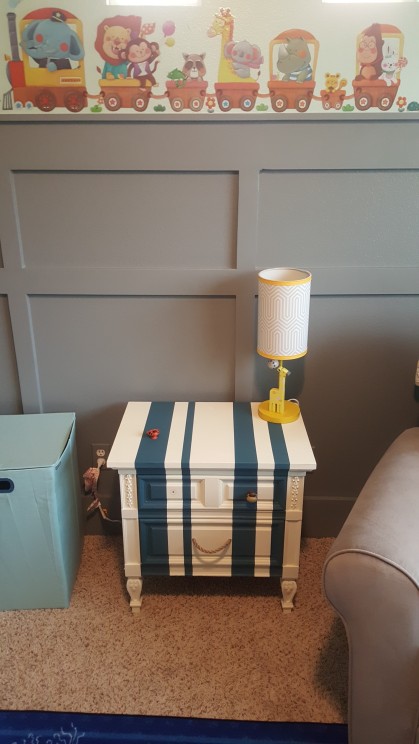
As usual, I did my Pinterest research first. After tons of pinning, we decided to do blue and white stripes. I also did a lot of research on which Chalk paint was pregnancy and baby safe; we landed Annie Sloan Chalk Paint. Luckily, we have a local antique shop who is a distributor so we went to have a chat with them and check out all the colors. As I recall we both went in thinking like a baby blue / teal color and ended up with a deep turquoise/ocean blue, it was way too pretty to pass up! We also splurged on an Annie Sloan brush (well worth it!).


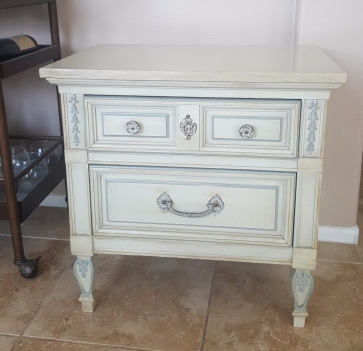
And here are the dressers before paint:

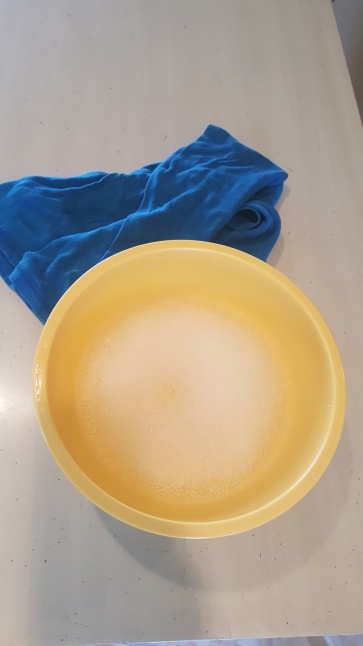
The great thing about chalk paint is that you don’t have to sand. This was an amazing benefit being 8-ish months pregnant and not really able to move around too well – painting was about all I could handle! The only prep required is rinsing with soapy water.
Next we removed the drawers and hardware (Rocky had to make an appearance):


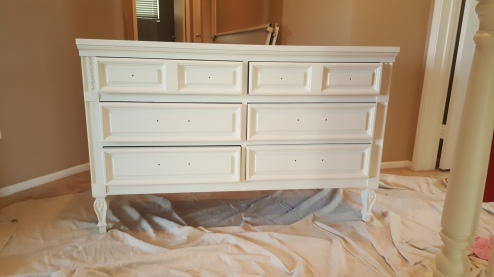
And then painted everything white. We did two coats. You can pretty much slop the paint on then even out. It’s really forgiving!

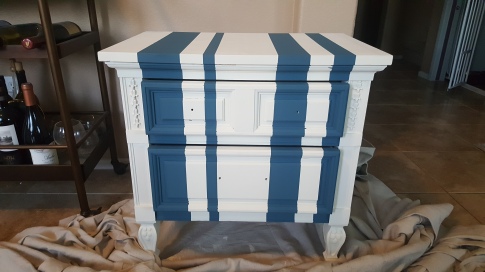
We let them dry for at least 24hours (knowing us we probably let them sit an entire week until the next weekend 😊). Then it was time to tape and paint the blue.

The drawers were the hardest part just because of the ridges. I sat on my stability ball and kept at it though.
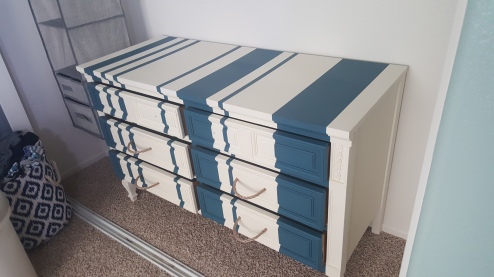
We decided to make uneven lines just to mix it up a bit. After the paint dried we removed the tape and went in for minor touch-ups with a very small brush.
You can see how some of the paint oozed into the tape just because of those dreaded drawer features. Such a pain.
Next we made some rope handles.. unfortunately I don’t have good pictures of this process. We basically bought a roll of rope thick rope, opened up the already existing handle mounting holes and then clamped the rope on the inside using pipe clamps. The ends were fused with fire.
We also decided to line the insides of the drawers.

I also don’t have great pictures of them, but we bought little animal handles for the top two drawers, also. We found them at Home Depot, the picture is clickable (Side note: I prefer Lowes……..).

In case the picture link doesnt work — http://www.homedepot.com/p/Hickory-Hardware-Safari-1-5-8-in-Hand-Painted-Orange-Cabinet-Knob-P3283-ORG/100674523
The last step, which I also don’t have pictures of, is the wax finish. I couldn’t partake in this part of the project because the wax is not pregnancy safe, so Tim did this all on his own. Basically, you slop some on and push it around with the paint brush or a rag – whichever you prefer – until its nice and even.
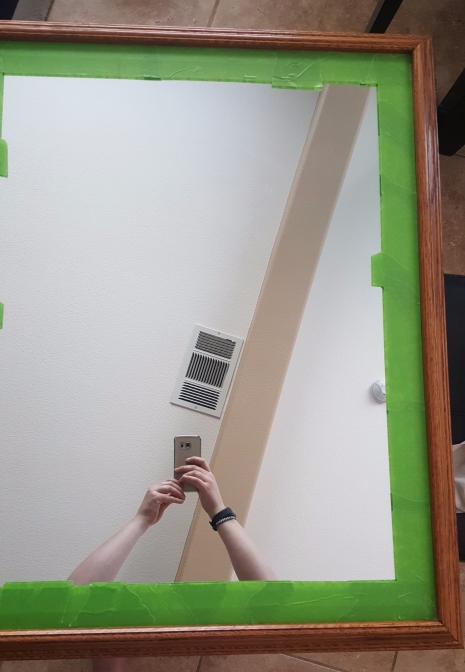
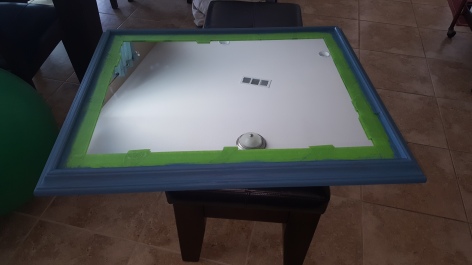
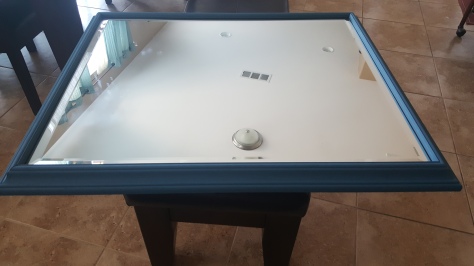
While he was out in the garage doing this, I decided to paint a mirror to go over the dresser. Very quick and easy!
And there you have it! (a couple of the animal handles are missing because the screws were too short at that time.)


1 Pingback